
What end grain tells you before the first cut
The end of a board is a small map of the tree and the cut. It can help explain why two pine boards with similar faces deserve different places in a project
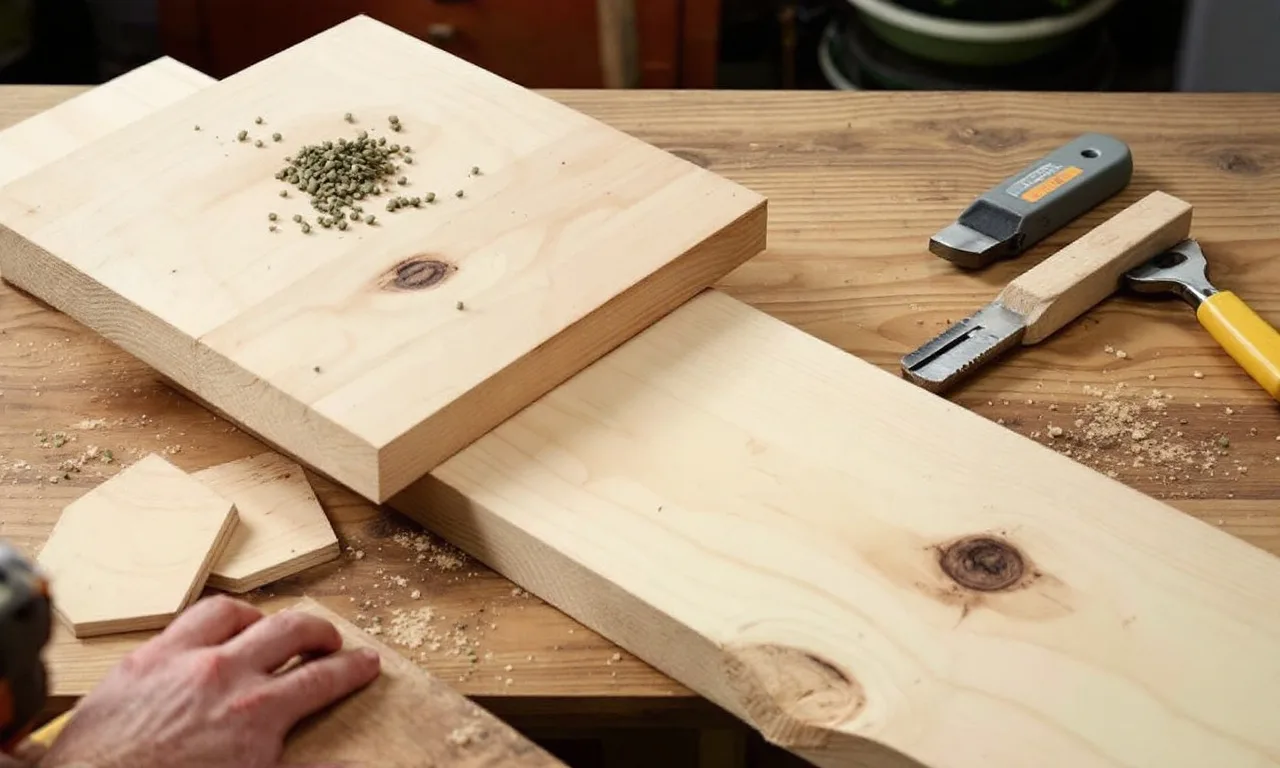
The end of a board is a small map of the tree and the cut. It can help explain why two pine boards with similar faces deserve different places in a project. It cannot, by itself, identify every species, certify a grade or predict exactly how the board will behave in your room.
Use end grain as one part of an inspection. Look at both ends, the faces and the edges, then connect what you see with the parts you need. A board is three-dimensional material, not a photograph of one attractive surface.
Give the two ends different jobs
At the timber rack, use the first end to form a question and the other end to check whether that impression still holds. A growth-ring pattern visible at one end describes that cross-section. It does not show every knot, internal feature or change along the length. Follow the faces and edges between the ends before deciding what the board can supply.
Imagine a board offered as 1,800 mm long. Your project needs two rough blanks of 650 mm each. One end has a visible split, and the supplier permits you to inspect but not cut the stock. The arithmetic leaves 500 mm before saw kerfs and trimming, but that spare length does not prove the split can be removed within it. Record the extent you can actually observe and the uncertainty you cannot resolve at the rack.
On the layout, draw the two proposed blanks as separate rectangles rather than simply writing two parts. Mark the suspect end zone and any knot or damaged edge that interrupts a rectangle. If one blank crosses that zone, the purchase depends on what preparation reveals. Price that uncertainty into the decision, or choose a board with a clearer allocation. The cut-list guide keeps rough blanks separate from finished sizes.
The same board may look much less useful when the requirement changes to one 1,600 mm rail. Total clear-looking material scattered along the board cannot replace the uninterrupted length that rail needs. Do not quietly add a joint to make the numbers fit. That would be a new design, not a better interpretation of the end grain.
Make the inspection traceable
Use a board identifier such as P7 in the written list and in permitted photographs. Take an overall view that shows the board, then a closer view of each end with an orientation note. A close-up alone can become an attractive but unidentifiable image once several boards are stacked together. Keep labels and the supplier's material description in the same record.
For P7, a useful note might say: end A has a visible split; end B is difficult to read because of the rough surface; proposed short blanks remain conditional. That is more informative than a confident good board label. If the view is obscured, ask for help or permission before altering the surface. Do not wet, coat or trim stock that belongs to the seller without agreement.
Keep separate fields for species description, moisture information and any claimed grade. Ring orientation and color cannot fill those fields for you. The order checklist is the place to preserve the seller's exact description, including what remains unknown. Return to the inspection when preparation exposes a new end; the buying note is a starting record, not permanent approval of every part.
A board-by-board example
Consider three hypothetical boards for a narrow cabinet. The first has a clear face but a split visible at one end. The second has an active ring pattern and a sound-looking knot near the middle. The third has a quiet face but less thickness available after flattening. None can be ranked sensibly without the part list.
Lay the cabinet side, rails and shorter internal pieces over the available clear zones on paper. The split board might supply the short pieces if the affected end can be removed with adequate allowance. The knotty board might provide a visible side if its appearance and condition suit the design. The thin board might be unsuitable for a part with a fixed finished thickness even though its face is the quietest.
The example shows why end-grain inspection should lead back to the project. It is not a contest to find the most textbook-looking ring pattern. The desired result is a set of suitable parts whose preparation and appearance have been considered.
Distinguish a check from a conclusion
When you inspect an end, write observations in ordinary words: visible split, damaged corner, rings at a steep angle, pith near one edge. Avoid turning those notes immediately into a diagnosis about drying history or future performance.
An observation can justify another question. A split invites inspection along the face and a revised trimming plan. A feature near a proposed joint invites a different allocation or qualified assessment. That is a stronger workflow than using one visual cue to announce that the entire board is good or bad.
If a seller provides a grading or moisture document, keep it beside your observations. The document and the visual inspection serve different purposes. Your note should not quietly become a replacement certificate, and a certificate should not prevent you from reporting visible delivery damage.
Use both ends when possible
The two ends may reveal different parts of the board's condition. Inspecting both helps avoid assuming that the convenient end represents the whole length. Follow the grain along the faces and edges where visible, and look for changes that affect the planned parts.
A long board can also contain features that neither end makes obvious. End-grain inspection is therefore a useful entry point, not a complete scan. Keep the same discipline used on the rest of the stock: inspect the actual zones from which the parts will be cut.
At a timber yard, respect the handling procedure and ask for assistance with stock that cannot be moved safely. A better view is not worth destabilizing a pile or lifting a board beyond your means. You can decline material that cannot be assessed adequately for the intended purchase.
Make photographs useful
If photographs are allowed, include an identifier and enough context to distinguish the board. A close crop of end grain without a board number is difficult to reconnect with the stack later. Take a broader view as well as the detail when that helps preserve the relationship.
Use images to record visible condition, not to promise a remote species identification. Lighting, focus and scale can obscure the features an expert would need. If a specialist is being consulted, ask what views and measurements are useful before sending a collection of attractive but incomplete pictures.
Keep the original date and notes with the image. A photo taken before trimming should not be treated as the final condition after preparation. When the board changes, update the layout record rather than relying on the old picture alone.
Connect the inspection with finishing
An exposed end can become a visible part of a shelf, frame or top. Include it when evaluating the appearance of the material and the proposed finish. It may absorb or display a coating differently from the face, depending on the product and preparation.
Make a representative sample rather than trying to predict the final color from the dry end. Record the same sanding and coating process planned for the project. If the sample reveals a contrast you dislike, revise the finish or the detail before committing the main part.
Do not sand aggressively merely to make end grain resemble face grain. That can change the dimensions or shape without answering the appearance question. The sample should help choose a deliberate process, not encourage an unmeasured attempt to erase the material's structure.
A final inspection record
A compact record can contain five fields: board identity, observed end features, usable clear zones, intended parts and unresolved questions. Add the supplier's species and grade description separately. This structure keeps facts, plans and unknowns from blending together.
Before cutting, check the record against the actual stock and the latest part dimensions. If a design change requires a longer clear section, the earlier allocation may no longer work. Revisit it even if the board has already been marked.
The habit is simple: observe carefully, avoid overclaiming and return every material feature to the job the board needs to do. That makes end grain a useful source of information rather than a decorative detail noticed only after the project is finished.
Sources and scope
For the broader buying sequence, read choosing pine boards. For material behavior, see chapters 3 and 4 of the USDA Wood Handbook. The inspection method here is an editorial aid, not a grading certificate.
Keep the notebook open.
Storing pine boards between buying and building
Protect and support timber between delivery and preparation, with the material information kept alongside it.
14 Oct 2026 · Jonah Mercer
Leave room for wood movement
Grain direction, moisture and restraint belong in the design before a wide panel is fixed in place.
29 Aug 2025 · Elise Tran
How to choose pine boards for furniture
Read grain, knots, distortion and moisture before deciding which boards can become useful furniture parts.
13 Feb 2024 · Elise Tran