
How to choose pine boards for furniture
Read grain, knots, distortion and moisture before deciding which boards can become useful furniture parts.
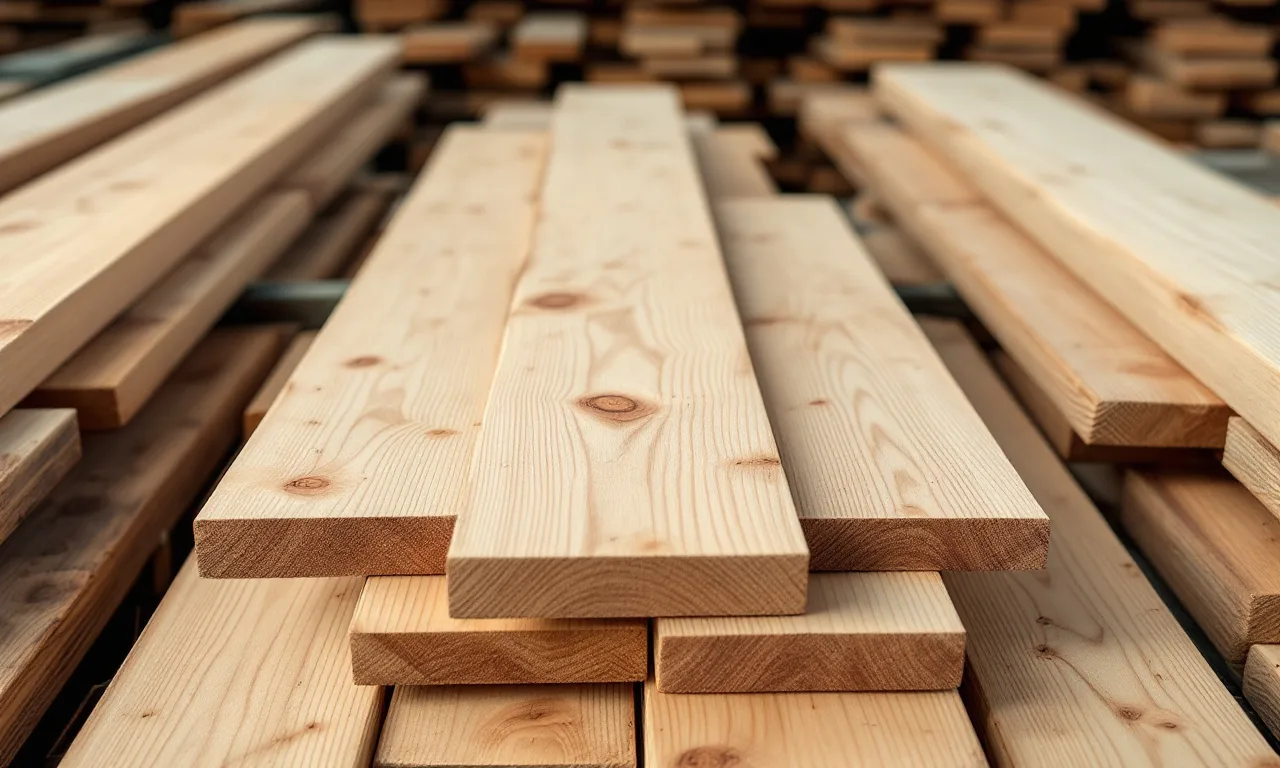
A stack of pine can contain several very different projects. One board might yield a broad, quiet shelf face. Another has a striking knot pattern but only two short clear sections. A third looks inexpensive until you allow for the twist that would have to be removed. Choosing well means seeing finished parts inside the stock, rather than finding a board that merely looks attractive on top of the pile.
Start with the finished object and a short list of dimensions. A supplier can explain its grades, species and sizes, but it cannot guess which surface matters most to your project. This guide is for ordinary furniture and workshop planning, not selecting structural timber for a building. Load-bearing work needs the appropriate graded material and design information.
Bring the parts, on paper
Write each finished part as thickness, width and length, with a quantity beside it. Mark the visible face and any edge that will remain exposed. A small cabinet side and a hidden rail can have the same dimensions yet very different appearance requirements. If your list treats them as identical, you may buy clear stock for a hidden part while leaving a conspicuous knot in the cabinet face.
Add a second set of rough dimensions that includes the trimming and machining you expect to do. Keep this allowance separate from the finished size. A general waste percentage helps with a budget, but it cannot tell you whether a particular rail fits between two defects. The cut-list guide explains that distinction in more detail.
You do not need a beautiful drawing at the timber yard. A readable sketch with part names, the direction of the grain and the minimum clear lengths is more useful. Take a pencil so the list can change when the available boards differ from the dimensions you expected.
Ask what the name covers
Pine describes a family of woods. The commercial name on a rack may identify a species, a group or a familiar trade category. Ask which it is. Also ask whether a quoted grade is primarily an appearance grade, a structural grade or a local sales description. These labels answer different questions.
Do not translate a grade name from one supplier into a supposedly equivalent grade elsewhere without checking the grading system. A phrase such as select or premium can have a precise meaning within a recognized rule set, but it may also appear as an informal retail label. Record the supplier's actual description on the quotation.
The USDA Wood Handbook distinguishes wood characteristics, commercial lumber and stress grading in separate chapters. That organization is useful at the counter: species, appearance, dimensions and structural properties should not collapse into one reassuring word. For furniture, start with a species description and the usable appearance you need. For structural use, do not substitute a furniture-selection checklist for a grade specification.
Inspect the whole board
Look along both long edges, then across the face. Bow is curvature along the length of the face. Crook is curvature along an edge. Cup is curvature across the width. Twist puts the corners in different planes. Knowing the names lets you describe what you see without expecting the supplier to interpret a vague request for straight wood.
A slight bow in a long board may matter less if your parts are short. Twist can be more costly because flattening it may remove material from opposite corners. What matters is whether the finished pieces will remain thick enough after the work needed to produce useful reference surfaces. Never assume clamping a distorted board temporarily flat solves the underlying problem.
Check the underside and ends, not just the best face. Ask permission before lifting stock and follow the yard's handling arrangements. Return boards neatly. A hurried inspection of only the exposed face is how end splits, damaged corners and an unexpected cup enter the workshop unnoticed.
Treat knots as a layout decision
A tight knot can be an intentional visual feature. A loose, cracked or missing knot is a different problem. Inspect the surrounding grain and think about where the part will be cut, joined and finished. A knot positioned directly where a screw or a narrow joint belongs can complicate a part that otherwise looks usable.
There is no need to reject every knot for a rustic-looking panel. Instead, decide the acceptable size, spacing and position before comparing boards. Place the most visually active areas where they make sense in the finished face, and avoid buying a very knotty board for a project whose appeal depends on an even, quiet surface.
Be especially cautious when a defect sits close to the end of your minimum clear length. The board may technically contain the length you need, yet leave no room to trim a split or square an end. Mark the useful zone on your sketch rather than counting the full purchased length as usable.
Check moisture as a condition, not a promise
Kiln dried describes a process. It does not freeze the moisture content forever. A board can exchange moisture with its surroundings after drying, during shipping and in the yard. Ask about the intended use, storage conditions and any moisture specification supplied with the stock.
If you use a meter, follow its instructions for species correction, depth and measurement position. Compare several locations on several boards. A very different reading deserves investigation rather than immediate averaging. Surface moisture, temperature, metal and the measuring method can affect results, depending on the instrument.
There is no universal number that makes every indoor project ready in every climate. The workshop and the final room matter. Plan a period of suitable storage and repeated checks before final sizing, using the moisture-meter selection notes to understand what the instrument can actually tell you.
Compare usable yield, not board price alone
Consider two hypothetical boards with the same nominal volume. The cheaper one has a split end and a knot exactly where a long rail needs to go. The more expensive board yields the rail and two shorter parts. The useful comparison is the cost of those finished parts, plus the work needed to prepare them.
Sketch the parts on each candidate board. Include the saw kerf between cuts, trimming at the ends and any machining allowance. Do not quietly count an offcut twice. If a short clear section can become a hidden brace, note that explicitly. If it cannot serve any part on this project, it is spare material rather than current yield.
The timber tools can compare volumes, but they do not optimize a cut layout. Keep the two jobs separate: arithmetic tells you how much material a set of dimensions represents; layout tells you whether your parts can be made from the boards offered.
Choose the visible faces together
For a tabletop or a row of shelves, view the intended faces beside one another before buying if the yard allows it. Color, grain direction and knot distribution are easier to compare as a group. A striking individual board may look awkward between two much quieter ones.
Do not judge color only under one strongly tinted light. The final finish can also change contrast. If appearance is important, ask whether a small sample or offcut is available. Make a finish sample from the actual stock rather than relying on a photograph of a different pine species.
Label the chosen faces lightly and record the planned order. That small decision saves a second round of rearranging in the workshop. Leave room to change the arrangement if a hidden defect appears during preparation; a pencil plan should support judgment, not trap you into a poor layout.
A five-minute buying sequence
- Confirm the species or commercial group and the grading description.
- Compare the offered dimensions with both your rough and finished part sizes.
- Inspect faces, edges and ends for distortion, splits and unwanted defects.
- Check the moisture specification and storage condition; take appropriate comparative readings if permitted.
- Lay out the important parts and confirm the price basis, quantity and delivery details.
Before paying, ask how damage or a mismatch with the written specification should be reported. Photograph the labels and the selected stock where permitted. A record made before the boards are cut is more useful than a later recollection of what the rack sign seemed to say.
When to leave a board behind
Leave stock that cannot yield the required section after preparation, even if the face is appealing. Leave material with an unidentified treatment or history when that history matters to the intended use. Leave a board whose price depends on accepting a condition you cannot assess confidently.
A good purchase does not have to be flawless timber. It has to be timber whose characteristics you understand and can accommodate. That is why a modest, clearly specified board can be a better starting point than a more expensive piece bought without a plan.
Source and further reading
The USDA Forest Products Laboratory Wood Handbook, especially chapters 2, 4, 6, 7 and 13, provides the material background. The buying sequence and examples above are editorial planning methods, not results of a product test or a grading inspection.
Keep the notebook open.
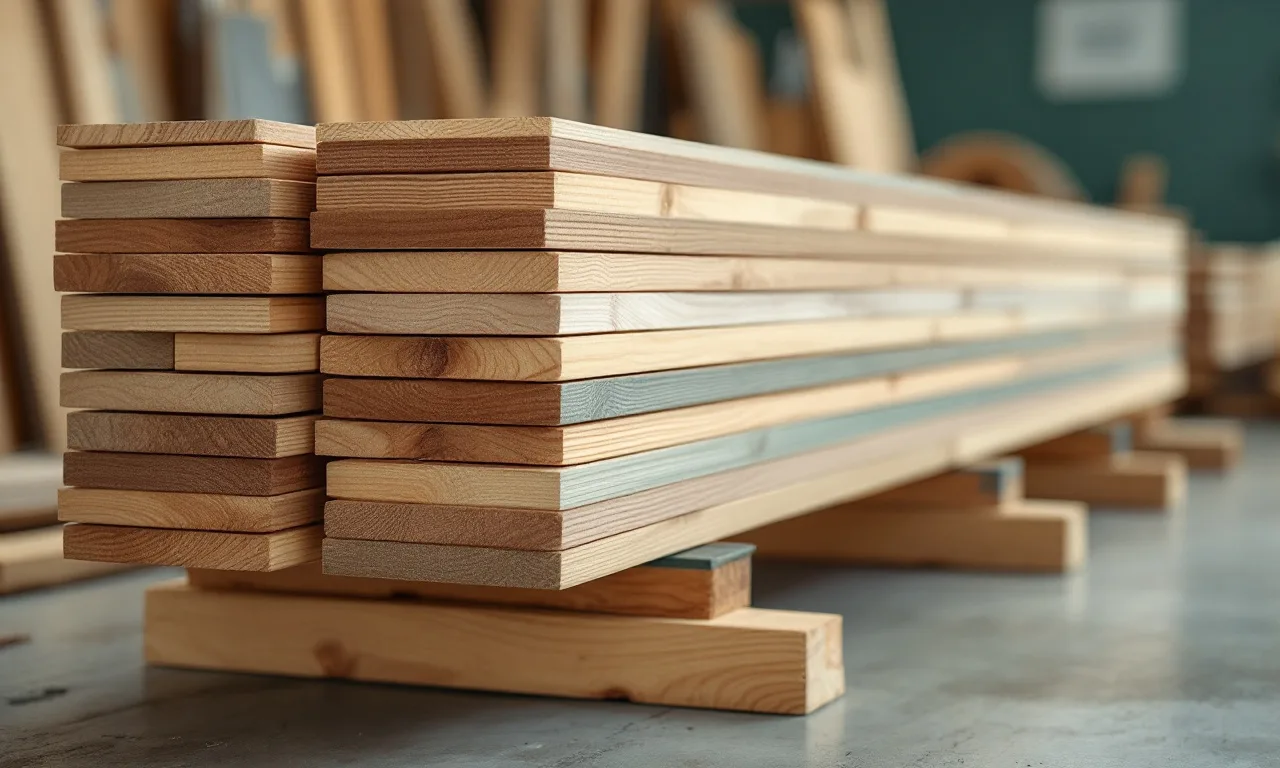
Storing pine boards between buying and building
Protect and support timber between delivery and preparation, with the material information kept alongside it.
14 Oct 2026 · Jonah Mercer
Leave room for wood movement
Grain direction, moisture and restraint belong in the design before a wide panel is fixed in place.
29 Aug 2025 · Elise Tran