
Choosing a moisture meter for a small woodshop
Compare measuring method, depth, species correction and calibration before choosing a meter for your stock.
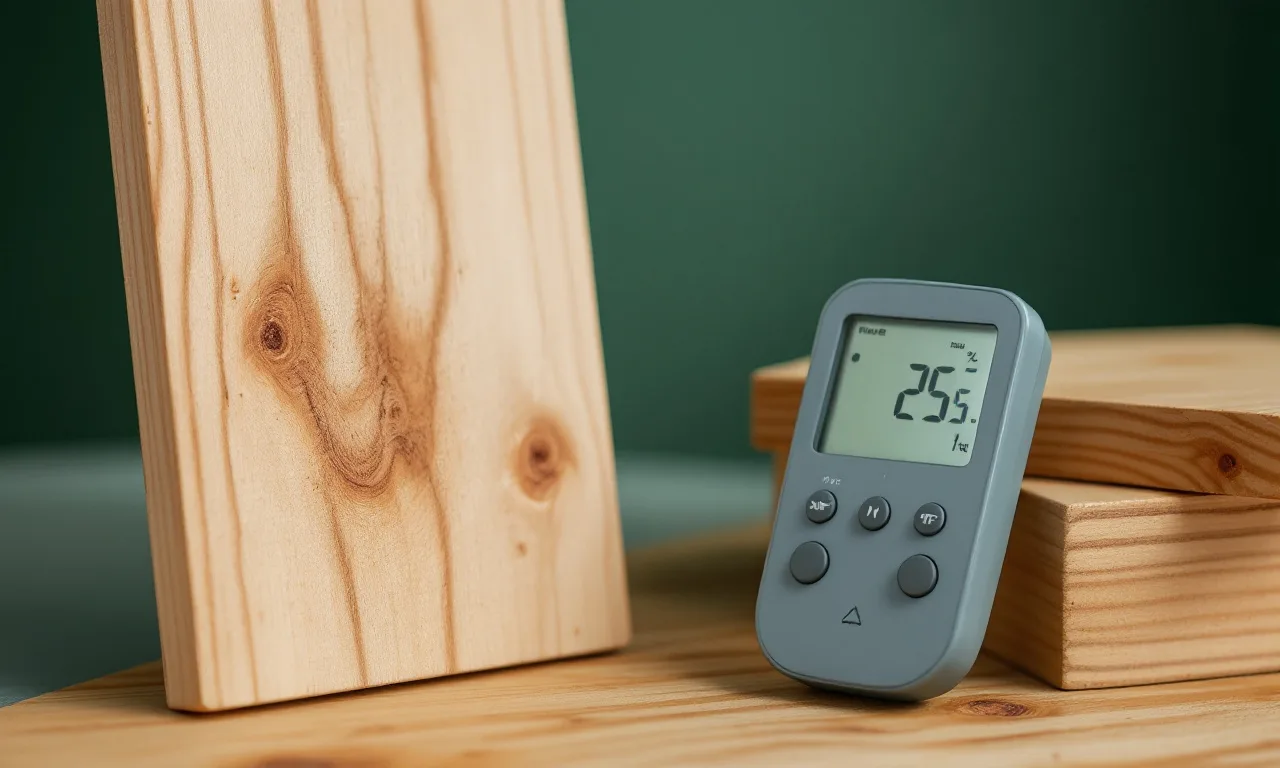
A moisture meter earns its place when it answers a decision you actually need to make. Is one board very different from the rest of the stack? Has stored timber changed between two checks? Does a delivery meet the moisture specification agreed with a supplier? Those are better starting questions than which meter displays the most digits.
The instrument does not dry wood, certify a whole delivery from one reading or remove the need to understand the final environment. It provides a measurement through a particular method, with settings and limits. Choosing the right method and keeping a simple record can matter more than buying the most elaborate model.
Begin with the material and the decision
Write down what you normally measure: thin furniture boards, thick rough stock, sheet materials or something else. Include the species or commercial group when known. Then write what you will do with the result. Comparing boards in a stack is a different job from investigating moisture at a particular depth.
Think about whether small pin marks are acceptable. A hidden rough surface may tolerate them easily. A finished face may not. Also consider access: can both sides be reached, is the board large enough for the sensor area, and will the measuring surface be reasonably flat?
These details narrow the field before price enters the comparison. A feature that solves none of your normal decisions is not automatically valuable. The bench supplies notebook keeps the same rule: choose the job before choosing the tool.
Understand the two broad approaches
Pin meters commonly estimate moisture through electrical resistance between probes. The details depend on the instrument, electrode arrangement, wood species and temperature. Probe depth and whether an electrode is insulated affect what portion of the wood is being sampled. Read the actual manual rather than assuming all pin meters measure in the same way.
Pinless meters use an electromagnetic sensing method through a contact area. They can be useful for scanning surfaces without puncturing them, but the specified measurement depth, material density setting and required sample dimensions matter. A thin board on another material may not behave like the sample conditions described in the manual.
Neither category wins every comparison. A pinless scan can help find differences across a surface; a suitable pin arrangement may answer a depth-related question more directly. The choice is about the measurement you need and the limitations you can accommodate, not about declaring one technology universally more accurate.
Read the manual before the product headline
Look for the stated measuring range and accuracy conditions. A headline range alone does not say how readings behave at its limits. Check whether the claimed accuracy applies to wood, to a reference material or to a narrow set of conditions. If the documentation is vague, treat that as a reason to ask questions.
Find the species correction or density-setting instructions. Can you identify the setting for your timber? Is there a table, a manufacturer resource or a documented procedure? A meter with many species codes is only useful if the relevant code can be selected reliably.
Also check temperature guidance, calibration checks, battery requirements and replacement probes. These are ordinary ownership details, but they determine whether the instrument remains usable after the first project. A replaceable pin is more helpful than a decorative display if the meter will travel to a busy timber yard.
Compare depth and board thickness
A number on a display is incomplete without a measuring context. On a pinless meter, the specified sensing depth and minimum material thickness can affect whether the reading represents the board alone. On a pin meter, short exposed pins do not automatically describe the centre of a thick piece.
For thick stock, consider whether the instrument and approved accessories can answer the question at the relevant depth. Do not improvise long electrodes or modify the meter based on a generic article. Use the manufacturer's supported arrangement and procedure.
If your main work is with thin boards, check that the meter is suitable for that thickness. A deep-sensing mode is not necessarily an advantage. Put the minimum and maximum thickness you expect to measure into your buying notes so the comparison stays tied to the actual stock.
Look for a practical verification method
A calibration check is not the same as a complete calibration service, and a successful check does not eliminate every measurement error. Still, a documented check block, reference feature or service procedure gives you a way to notice that something may be wrong.
Read how often the manufacturer recommends checking the meter and what to do when the check fails. Keep that instruction with the instrument. A reading that seems implausible should prompt a repeat measurement and a setup check before it prompts a major material decision.
Inspect probes, sensor surfaces and batteries as part of normal use. Dirt, wear or poor contact can complicate readings. Store the instrument according to its instructions and protect sharp probes with the supplied cover where applicable.
Make readings comparable
Choose a repeatable measuring pattern. Record the board identifier, date, species setting, measuring method and approximate location. Take several readings along representative pieces rather than using a single convenient end reading for the entire stack.
Avoid turning a mixed set of readings into one tidy average before looking at the differences. An outlier could be a setup problem, a local condition or a genuinely different board. Repeat it with the same method and then investigate the reason. The average should not hide the information that motivated the measurement.
Where the manual warns about metal, surface moisture, edges or nearby materials, follow those restrictions. A meter is part of a procedure. Good repetition makes changes easier to interpret; inconsistent contact and settings can make an ordinary stack look mysterious.
Do not buy a universal target number
Wood exchanges moisture with its environment. The conditions in a heated room, an open workshop and a covered timber yard can differ. A generic target copied from an unrelated project may not describe the condition appropriate for yours.
Ask what moisture condition the project requires and how that requirement was established. For commercial or structural work, use the relevant specification and qualified guidance. For a small furniture project, understand the final room, allow suitable storage and look for stable readings taken consistently.
Kiln dried is useful process information but not a guarantee that the material has retained the same moisture content through every later stage. The timber buying guide and storage note connect that point with inspection and preparation.
A comparison sheet for three candidates
Use one row per meter and columns for method, measuring depth, thickness limits, species correction, temperature guidance, verification method, replaceable parts and total cost. Add a column headed unresolved question. That last column often reveals more than a row of checked features.
Include accessories you actually need in the price comparison. A base instrument plus a required electrode or case can cost more than the advertised entry price suggests. Conversely, a large bundle may contain items that add no value for your work.
Do not use customer-star counts as a substitute for documentation. This notebook does not reproduce ratings or claim a hands-on comparison of meters. The purpose of the sheet is to help you evaluate a documented fit, then verify the current seller, return terms and supplied contents before buying.
When a meter is not enough
A measurement cannot identify an unknown wood treatment, guarantee the absence of concealed defects or establish the strength of a finished joint. It also cannot tell you exactly how much a board will move without additional material and environmental information.
If a reading affects a warranty, a dispute or a safety-critical decision, establish the required test method in advance. A casual handheld reading may not be the method the relevant specification requires. Keep the original records and avoid presenting a quick scan as a laboratory result.
For ordinary workshop planning, the best meter is often the one whose instructions you can follow consistently, whose limitations fit the material and whose results lead to a clear next action. Buy that capability rather than a promise that every moisture question will disappear.
Source and further reading
Chapters 4 and 13 of the USDA Forest Products Laboratory Wood Handbook explain moisture relations, drying and moisture measurement. Always use the manual for the exact meter and electrode. The selection worksheet above is an editorial aid, not a tested product ranking.
Keep the notebook open.

The timber order checklist: grade, moisture and delivery
Put species, grade, dimensions, moisture condition and delivery in one written record before paying.
21 Mar 2025 · Jonah Mercer