
Pine boards or plywood for a utility shelf?
Compare the complete shelf project: appearance, edges, preparation, supports and the documented material.
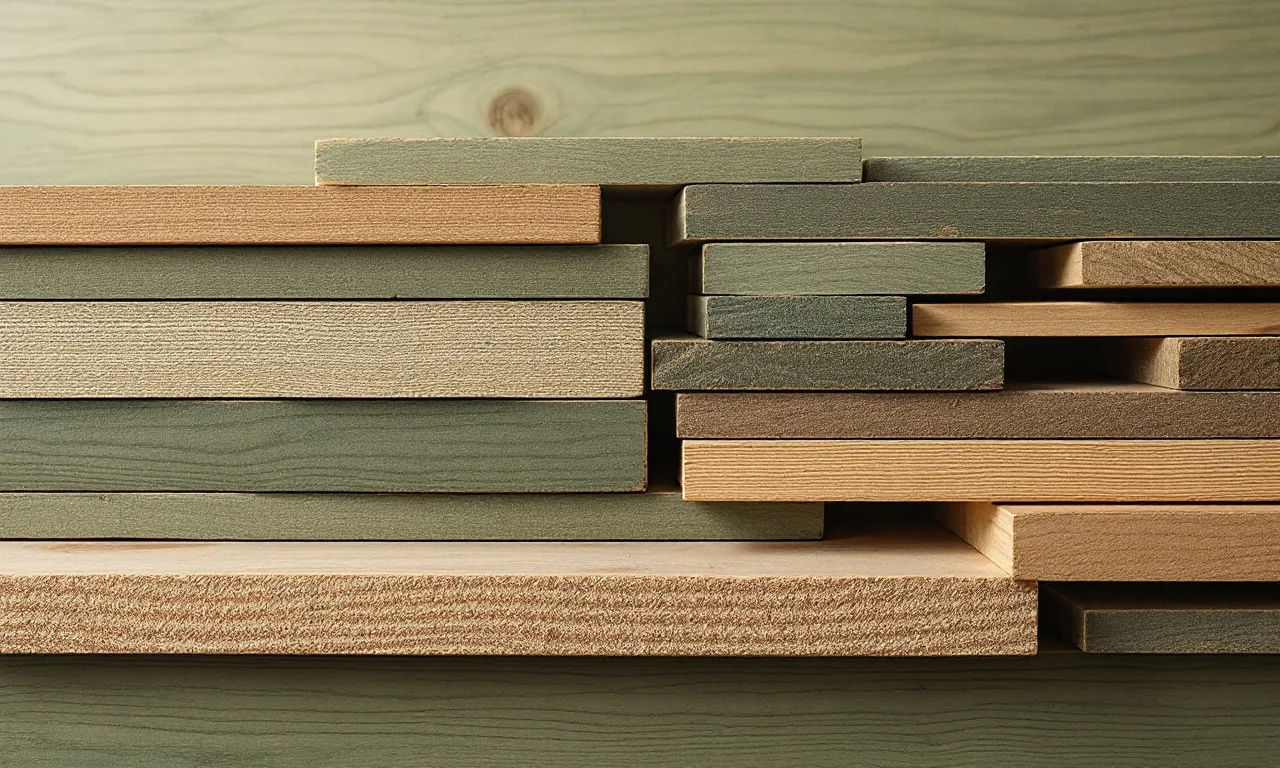
A utility shelf looks simple until the material choice brings several decisions into view. The face needs to suit the room. The edge needs a treatment. The panel must fit the available supports and the intended load. It also needs to be carried home, cut with the available equipment and finished without creating more work than the project deserves.
Solid pine and plywood can both be useful, but they are not substitutes in every detail. This guide compares planning considerations for a small furniture project. It does not supply a safe span or load rating. Shelving that could injure someone if it fails needs suitable design, supports and fixings for the actual material and installation.
Start with the shelf, not the sheet
Record the finished length, depth and thickness you want. Note whether the shelf sits between sides, rests on brackets or forms part of a cabinet. Add the intended use and the appearance of the exposed front and ends. A shelf holding a few light display objects is a different design question from one carrying dense books or equipment.
Sketch the supports and the environment. Is this a dry room, a damp utility area or a space with occasional splashes? Material selection should reflect documented product suitability, not a general belief that all plywood is waterproof or all pine is interchangeable.
Do not choose a material solely because a calculator reports enough volume. The timber tools calculate quantities, not stiffness, strength, fastening capacity or wall suitability. Those decisions require the relevant product information and design guidance.
What solid pine offers
A solid board has continuous natural grain through its thickness. The exposed edge can be attractive without adding a separate edging material. For a narrow shelf, a suitable board may keep the part count low and the preparation straightforward.
The board still needs inspection. Knots, splits, distortion and moisture condition affect whether the piece can be prepared to the required dimensions. A wide shelf may require an edge-glued panel rather than one board. That adds joint preparation, clamping and time to the project.
Solid wood also changes dimensions as its moisture condition changes. Across-grain movement deserves attention in the way the shelf is fitted or attached. The wood-movement note explains why a tight fit at one moment is not the only condition a design should accommodate.
What plywood offers
Plywood is built from veneer layers, typically arranged with alternating grain directions. That construction can make a wide panel convenient and can reduce the directional movement associated with a broad solid-wood panel. It does not mean every plywood product behaves identically or is suitable for every exposure.
Face quality, core construction, bond classification and actual thickness all matter. A handsome face veneer does not establish a panel's structural rating. A familiar thickness label does not eliminate the need to measure the actual product before cutting joinery or buying edge treatment.
Read the product markings and the manufacturer's documentation. If the seller cannot identify the panel beyond a broad retail label, decide whether that uncertainty is acceptable. For a shelf with meaningful load or moisture requirements, vague identification is a reason to ask for better information.
The front edge changes the work
With solid pine, the edge is part of the board. You can keep it square or prepare an appropriate eased profile, while preserving the required dimensions. Knots and grain direction can still affect the result, so inspect the edge as carefully as the face.
A plywood edge reveals the veneer stack and possibly core gaps. Leaving it visible can be a deliberate design choice if the panel is suitable and the result is acceptable. Covering it introduces another material and an attachment method. Thin edge banding and solid edging solve different appearance and durability questions.
Include edging thickness in the finished depth. If a panel is cut to the full finished depth and then receives substantial edging, the completed shelf becomes deeper than planned. Write the core dimension and finished dimension separately on the cut list.
Compare preparation honestly
A solid board may need flattening, edge preparation and thickness work before it becomes a reliable rectangular part. A retail dressed board may reduce that work, but inspect it rather than assuming every surface is ready for final joinery.
A plywood panel may arrive broad and relatively flat, yet handling and cutting a large sheet can be difficult in a small workshop. A supplier cutting service may help, provided its tolerances and finished-size limitations are understood. A rough breakdown cut is not always a final furniture cut.
List the operations each option requires with the tools and space you actually have. The cheaper raw material can become the more expensive project if it requires a service, accessory or machine you did not include in the budget. Conversely, buying more preparation than you need can waste money when the existing setup is adequate.
Think about finish before cutting
A clear finish makes the material's color, grain and surface preparation visible. A painted finish changes the priorities but does not conceal every defect automatically. Knots, glue residue, damaged veneer and uneven edges can still require attention.
Use a sample from the actual material. Plywood face veneers can be thin, so an aggressive sanding approach risks cutting through the decorative face. Solid pine has more material beneath the surface, but uneven sanding can still alter shape or create an inconsistent appearance.
The finish-sample guide keeps preparation and coating choices together. Include the intended edge treatment in the sample. A face that looks right beside an unfinished edge is not yet a complete preview of the shelf.
A hypothetical material comparison
Imagine one short shelf for a small enclosed cabinet. A suitable solid board might provide the depth in one piece and leave a finished-looking front edge. If the board is straight, dry enough for the intended conditions and thick enough after preparation, the simple part count is attractive.
Now imagine several deeper shelves cut from one sheet. Plywood might use the available sheet efficiently, especially if the planned edges and supports suit the product. However, the front edging, cutting service, handling and offcut storage need to appear in the same comparison.
Neither example gives a universal winner. The useful conclusion comes from a cut layout, a process list and the documented properties of the actual products. An article cannot infer those properties from the word pine or plywood alone.
Keep supports and material connected
A shelf is a system that includes the panel, supports, connections and the structure receiving the fixings. Changing the panel without checking the rest of the system can invalidate an earlier assumption. A thicker-looking piece is not automatically a safe replacement.
Use design information for the exact product and arrangement, and obtain qualified advice where the consequences of failure matter. Do not copy a span from a photograph or a project made with unidentified material. A photograph shows appearance, not a verified load test.
If a shelf will be adjustable, confirm that the pins or brackets, cabinet sides and panel detail are intended to work together. If it will be wall mounted, wall construction and fixing suitability are separate questions from the choice of shelf material.
Buy enough useful material
For solid stock, map the shelf parts around defects and include trimming. For sheet goods, draw the parts on the actual sheet size with grain direction and kerf included. Check whether the face direction matters to the appearance of neighboring shelves.
An offcut is useful only if it has a known purpose or a realistic place in future work. Do not count a large leftover sheet section as a saving if it cannot be stored dry and flat. On the other hand, a deliberate plan for a second project may make a full sheet more sensible than several expensive small pieces.
The order checklist helps record product identity, dimensions and delivery. Keep the original labels or a photograph of them so the finished project can be traced back to the material actually used.
A decision sheet in six lines
Write one line each for appearance, documented suitability, supports, edge treatment, preparation and complete cost. Compare solid pine and the proposed plywood product under those headings. Add an unresolved question wherever the answer is not known.
Choose only after the important unknowns have been resolved. The best choice may be the material that fits your equipment and layout with the fewest uncertain steps, even when its raw price is slightly higher. A modest shelf is a good place to practice that discipline because the decisions remain visible.
Sources and limits
Chapters 4, 6, 11 and 12 of the USDA Wood Handbook explain wood movement, commercial products and panel construction. Product-specific ratings and installation instructions must come from the manufacturer. The comparisons here are planning examples, not tested load capacities or structural approvals.
Keep the notebook open.

A dust plan for a small woodworking space
Connect source capture, tool compatibility, filtration and maintenance in one practical workshop plan.
17 Nov 2025 · Mateo Briggs