
Make a finish sample before finishing the project
Use the actual wood and a recorded process to discover the finish result on an offcut first.
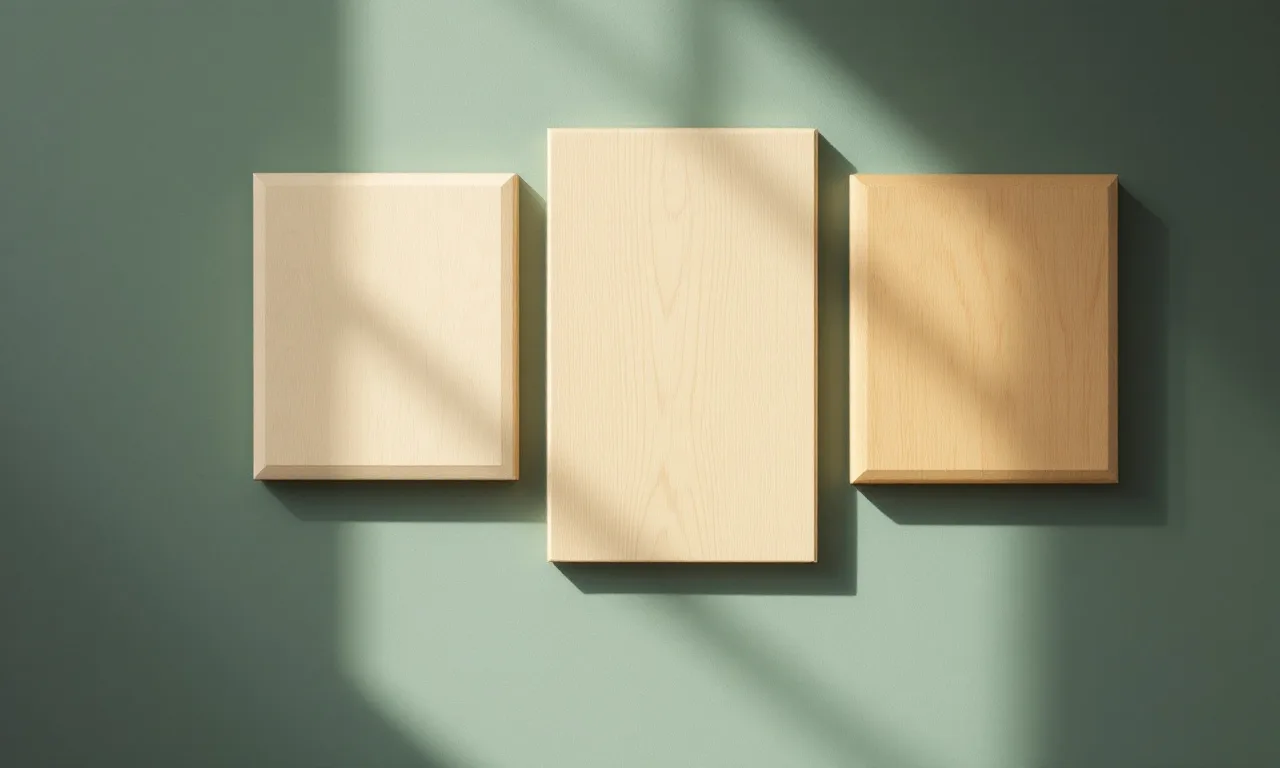
The best place to discover that a finish makes pine look too orange is a small offcut. A sample turns an abstract color name into a specific combination of wood, preparation, application and light. It also creates a record that can be checked when a second piece needs to match the first.
A useful sample is not simply a quick dab on any scrap. The scrap should represent the project, the preparation should match the intended method and the finish should be applied according to its current instructions. Change those conditions and the sample may answer a different question from the one you meant to ask.
Keep material from the actual project
Save an offcut from the boards or panel you will use. If the project contains noticeably different stock, keep more than one sample. Pine species, grain, knots and surface condition can affect appearance, so a random piece from an old box is not always representative.
Include the surfaces that matter. A face, an exposed edge and an end can respond differently. For plywood, include the intended edge treatment as well as the face veneer. A sample of only the broad face leaves part of the finished object untested.
Label the material discreetly on the back or on an attached note. Record which project and board it came from. Avoid markings that can migrate into the visible area or become confused with a later sample. A simple identifier is enough if it links to a clear written record.
Decide which question the sample should answer
Are you comparing color, sheen, application method, preparation or compatibility with an existing coating? Choose the primary question before setting up several samples. If every sample changes the abrasive sequence, product and number of coats, the final difference becomes difficult to explain.
For a first comparison, keep the preparation and application method the same while changing only the finish being evaluated. For a preparation comparison, keep the finish and coat schedule the same. This is not a laboratory test, but controlling obvious variables makes the result more useful.
Write the question in plain language. For example: does this clear finish preserve the pale appearance of these boards under the room's lighting? That is more actionable than a vague goal to find the best finish, which can hide conflicting priorities.
Read the current product directions
Check the recommended surface preparation, application conditions, coat count, drying intervals and cleanup. Read the safety information as well as the decorative claims. The correct process can differ between products that are both described broadly as a clear finish.
Do not combine products because their names sound compatible. A stain, conditioner, sealer and topcoat form a system only when the manufacturers support the combination or suitable testing establishes it for the intended use. Follow documented guidance rather than assuming a product from the same shelf will work underneath another.
Record the exact product name and version where relevant. A photograph of the label can help, but keep the written instructions accessible too. If the formula or recommended process changes later, the sample record should still explain what produced the original result.
Prepare the sample like the project
Use the proposed sanding sequence and surface-cleaning method. Keep the sample supported so the work does not round an edge unintentionally. A small piece can be easier to overwork than a large panel, so pay attention to whether the preparation genuinely represents the project.
Inspect under useful side light before finishing. Remove the defects the process is meant to remove, while preserving the intended shape. The pine sanding guide explains why a finer final abrasive cannot automatically erase a deeper earlier scratch.
Do not introduce an unapproved solvent, polish or cleaning residue into the sample. If the finish directions call for a particular cleaning step, follow it. The aim is to learn how the documented process behaves, not to test an accidental mixture of workshop habits.
Apply and record, without rushing
Use the intended applicator and follow the specified application method. Record the coat sequence and the relevant conditions. You do not need to write a novel: product, preparation, applicator, coats, intervals and room conditions form a useful minimum.
Give the coating the time required before judging or applying the next step. Dry to touch, ready to recoat and fully cured can describe different stages. Do not collapse them into one convenient waiting period. Use the product's instructions for the specific conditions rather than a generic timetable from another finish.
Keep samples away from dust, handling and contamination while they develop. Store wet materials and dispose of application waste according to the product label and local requirements. Some finishing wastes can create a fire hazard; do not improvise storage in a pile or a closed container without checking the correct procedure.
View the result in the intended room
Lighting changes perceived color and sheen. Look at the sample where the finished piece will be used, under the relevant daylight and artificial light. Turn it so the grain is viewed from the same general direction as the final surface.
Compare samples beside one another, not from memory. A finish can seem neutral in isolation but noticeably warmer beside an unfinished piece. Keep an untreated reference if that helps answer the question, while recognizing that unfinished wood can also change appearance with time and exposure.
Photographs are useful records but imperfect color references. Camera processing, screen settings and lighting affect what they show. Make the final appearance decision from the actual sample where possible, especially when matching nearby furniture or a painted surface.
Check more than color
Look for uneven absorption, lap marks, visible scratches, dust nibs and differences between face and end grain. Consider whether the application process is manageable on the size and shape of the real project. A method that is easy on a small flat sample can become awkward around a large assembly.
Assess the intended use against the product's documented suitability. A decorative sample does not prove resistance to every liquid, heat source or cleaning product. Do not claim a food-contact, outdoor or floor-use suitability unless the exact product documentation supports it under the required conditions.
If you perform an informal comparison, describe it accurately in your own notes. A casual water spot on an offcut is not a standardized durability test. It may reveal a problem worth investigating, but it should not become a universal performance claim.
Scale the process to the project
Once the sample is chosen, list the surfaces to be coated and estimate their area. Include edges, ends and hidden surfaces required by the finishing plan. Use the coverage information on the product label and the planned number of coats to estimate quantity.
The finish calculator shows the arithmetic and an optional allowance. It cannot predict every difference in absorbency, application waste or coat thickness. Round to available container sizes only after confirming the instructions and your actual surface area.
Plan the physical sequence too. Where will parts rest while drying? How will you reach edges without touching a fresh face? Is the space suitable for the product's ventilation and environmental requirements? A good sample helps choose a process; a good layout makes that process practical on the full piece.
Keep the successful sample
Store the approved sample with its record after it has reached the appropriate condition. Keep it away from contamination and identify the project clearly. If a repair or additional piece is needed later, the sample provides a better reference than a remembered product name.
Expect some uncertainty in a later match. The original piece may have aged, a new board may differ and a product may have changed. Use the stored sample as a starting point, then make a fresh comparison rather than promising an exact match from an old note alone.
A sample also helps explain decisions to someone else. Instead of saying the finish looked right, you can show the material, the preparation and the result. That makes a conversation about color or sheen concrete and reduces the temptation to alter the full project without testing first.
When the sample says no
A disappointing sample is useful. It can show that the product changes the color more than expected, the preparation leaves visible marks or the application process is impractical for the project. Change one important variable and make another sample.
Do not rescue a poor result by adding undocumented layers at random. Return to the product instructions and identify what the sample actually revealed. Sometimes the best decision is a different finish; sometimes it is better preparation or a more suitable material choice.
For broader material questions, begin with the timber guide. A finish can complement the chosen wood, but it cannot make every unsuitable board, exposure condition or construction detail appropriate.
Sources and scope
Chapter 16 of the USDA Wood Handbook explains wood finishing principles. Use the current technical and safety instructions for every product in the proposed system. This article offers a sample-making workflow and does not report a hands-on product test or guarantee a particular finish result.
Keep the notebook open.
Sanding pine without chasing every scratch
Preserve the shape, inspect between stages and make the final preparation match the finish you intend to use.
5 Dec 2024 · Clara Vu