
Sanding pine without chasing every scratch
Preserve the shape, inspect between stages and make the final preparation match the finish you intend to use.
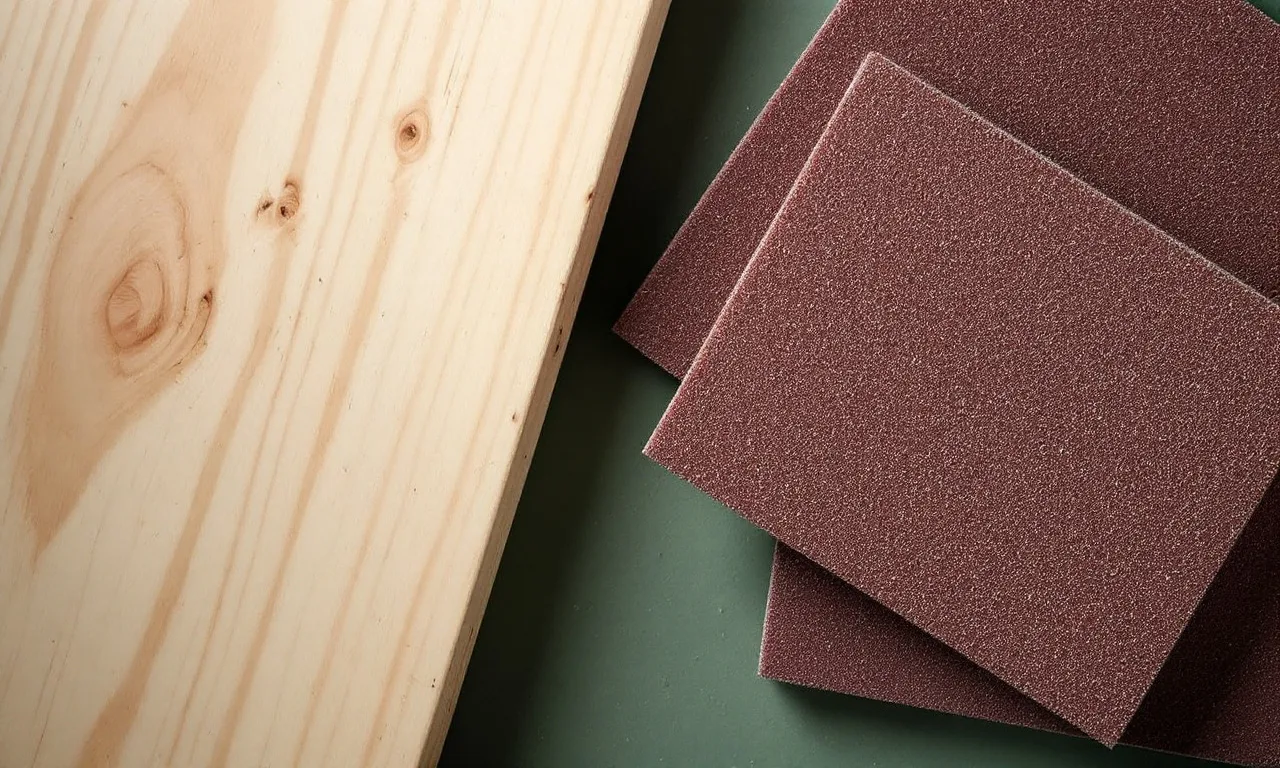
Sanding can improve a prepared pine surface, but it is a poor substitute for deciding what the surface should be. A tabletop needs to remain flat. A small radius should stay consistent. A crisp edge should not become rounded simply because it received more attention than the middle. Start by naming the shape and the defects you need to address.
This is a surface-preparation guide, not a promise that one grit sequence suits every board or finish. The finish manufacturer's directions, the condition of the wood and the tools available all matter. A small test on an offcut from the project is more useful than applying an unfamiliar sequence to the most visible face.
Inspect before removing material
Use a clean surface and light that reveals scratches and unevenness. Looking only straight down at the board under flat overhead light can hide marks that become obvious after a finish is applied. Move the light or the board to view the surface from more than one angle.
Separate defects into groups. Dirt or adhesive residue is different from a machining mark. A dent is different from a scratch. A hollow or a high spot is a shape problem. Treating all of them with more sanding can remove material from places that did not need it while leaving the original cause unresolved.
Mark the areas that need attention lightly and in a way compatible with the planned finish. Avoid permanent markers or heavy pencil pressure on visible pine. If the project has a reference face or a critical dimension, note it before beginning so surface work does not erase the information you need later.
Choose the abrasive for the starting condition
The initial abrasive needs to remove the existing unwanted marks efficiently without creating an unnecessarily deep scratch pattern. Starting too fine can waste time and encourage excessive pressure. Starting much coarser than needed can create additional work and remove more material than the part can spare.
There is no useful universal starting grit divorced from the surface. A clean, already well-prepared board and a rough damaged offcut are different jobs. Follow the finish instructions for final preparation and test a sequence that fits the actual starting condition.
Keep the abrasive system consistent enough that the progression can be understood. Grit labels describe abrasive size within a grading system; do not assume every label from every product family behaves identically. Read the packaging and record the products used on the sample rather than relying on a remembered number alone.
Support the abrasive on flat work
A flat sanding block helps distribute contact over a flat area. Sandpaper wrapped around fingers can follow small hollows and concentrate pressure in narrow places. That may be useful for a deliberately shaped detail, but it is not the same as preserving a broad flat face.
Choose a block that is comfortable and suitable for the abrasive sheet. Make sure the sheet is held securely without wrinkles or a loose fold under the working face. Inspect the block for grit or damage that could print a new scratch into the work.
The bench supplies notebook describes selection criteria for sanding blocks rather than claiming one tested winner. The important questions are whether the tool supports the intended shape, holds the abrasive reliably and allows a controlled motion without uncomfortable gripping.
Let the tool work without forcing it
With a powered sander, follow the exact tool instructions for pad, abrasive, speed, pressure and dust extraction. Do not assume advice for one type of sander transfers to another. Keep guards and collection arrangements in place as specified.
Pressing harder is not a reliable shortcut to a better surface. It can change how the tool contacts the wood and make the process less consistent. If removal is slow, inspect the abrasive, the surface condition and the setup instead of immediately adding force.
Keep the work secured in a suitable way and arrange the cable or hose so it does not pull the tool unexpectedly. Turn the tool off and disconnect it as instructed before changing accessories or clearing a problem. A smooth surface is not worth an improvised or unstable working arrangement.
Move through a deliberate sequence
Each stage should remove the marks left by the previous stage while preserving the intended shape. Inspect between stages rather than assuming a fixed number of passes is enough. If a deep scratch remains, moving to a finer abrasive does not make that earlier scratch disappear automatically.
Keep used abrasives identifiable. A sheet placed face down in a pile of offcuts is easy to confuse with another grade, and contamination can introduce isolated scratches. A simple labeled storage arrangement is enough; an elaborate organizer is unnecessary if it makes the sheets harder to inspect.
Clean the surface using methods appropriate for the material and finish. Avoid introducing an unapproved liquid or a residue-bearing cloth just because it is convenient. Product directions should guide any solvent or dampening step, especially where the next coat depends on a clean, compatible surface.
Be careful at edges and ends
Edges receive concentrated contact because the supporting area is small. A powered sander that tips over the edge can change the shape quickly. Plan any intended edge easing as a separate operation instead of letting accidental rounding accumulate during face sanding.
End grain can look and behave differently from the face under a finish. Include an end in the sample board so the final appearance does not come as a surprise. Do not assume the same amount of sanding time on each surface produces the same visual result.
Protect critical joints and reference surfaces. Sanding a mating edge casually can change the fit that was established during preparation. If the joint needs adjustment, identify the geometry involved and use a controlled method rather than blending the problem away by feel.
Deal with dust as part of the setup
Wood dust is a health hazard, and fine sanding dust deserves attention even when the workshop looks tidy. OSHA's woodworking guidance emphasizes capturing dust near its source with suitable local exhaust ventilation. A clean floor alone does not establish that airborne exposure is controlled.
Use the collection arrangement recommended for the tool and maintain it. Check that the abrasive holes, pad and extraction connection are compatible where the system relies on them. Inspect hoses, seals and filters as the equipment manuals require. Personal protection must be suitable for the hazard and the user; it is not a substitute for source control.
The small-workshop dust plan explains how to compare the tool and collector requirements. Do not blow settled dust around simply to make the bench look clean. Use appropriate collection and cleanup methods, and keep ignition and waste-handling concerns in view.
Make the finish sample do real work
Use an offcut from the actual project stock. Prepare it with the proposed sequence, including an edge and an end where relevant. Apply the chosen finish according to its instructions and allow the specified time before judging the result.
Record the abrasive sequence, preparation method, finish product and coat schedule on a separate note or the unexposed side of the sample. Keep the sample clean. If a later change produces a better result, make a new labeled comparison rather than trusting memory of how the first one looked.
The finish-sample guide explains how to compare without changing several variables at once. A good sample is evidence about that piece, preparation and finish combination. It is not proof that every board sold as pine will look the same.
Know when to stop
Stop when the surface meets the preparation requirements, the unwanted marks have been addressed and the intended shape remains intact. More sanding is not automatically more careful work. An overworked edge or a thinner-than-planned part can be a greater problem than a minor visual feature you originally meant to keep.
Inspect under useful light, touch with clean hands where appropriate and compare against the sample. Check joints and dimensions again if material removal could affect them. Then keep the prepared parts protected until finishing so grit or handling damage does not force another round of work.
A repeatable sequence is more valuable than a dramatic before-and-after photograph. The goal is a surface you can explain and reproduce, with the board's shape, the finish instructions and the workshop conditions all accounted for.
Sources
The USDA Wood Handbook, chapter 16, provides finishing background. OSHA's wood-dust guidance covers exposure controls. Follow the current manuals for the specific sander, extraction equipment, abrasive and finish; no product in this article has been presented as hands-on tested.
Keep the notebook open.

Make a finish sample before finishing the project
Use the actual wood and a recorded process to discover the finish result on an offcut first.
24 Feb 2026 · Clara Vu