
A dust plan for a small woodworking space
Connect source capture, tool compatibility, filtration and maintenance in one practical workshop plan.
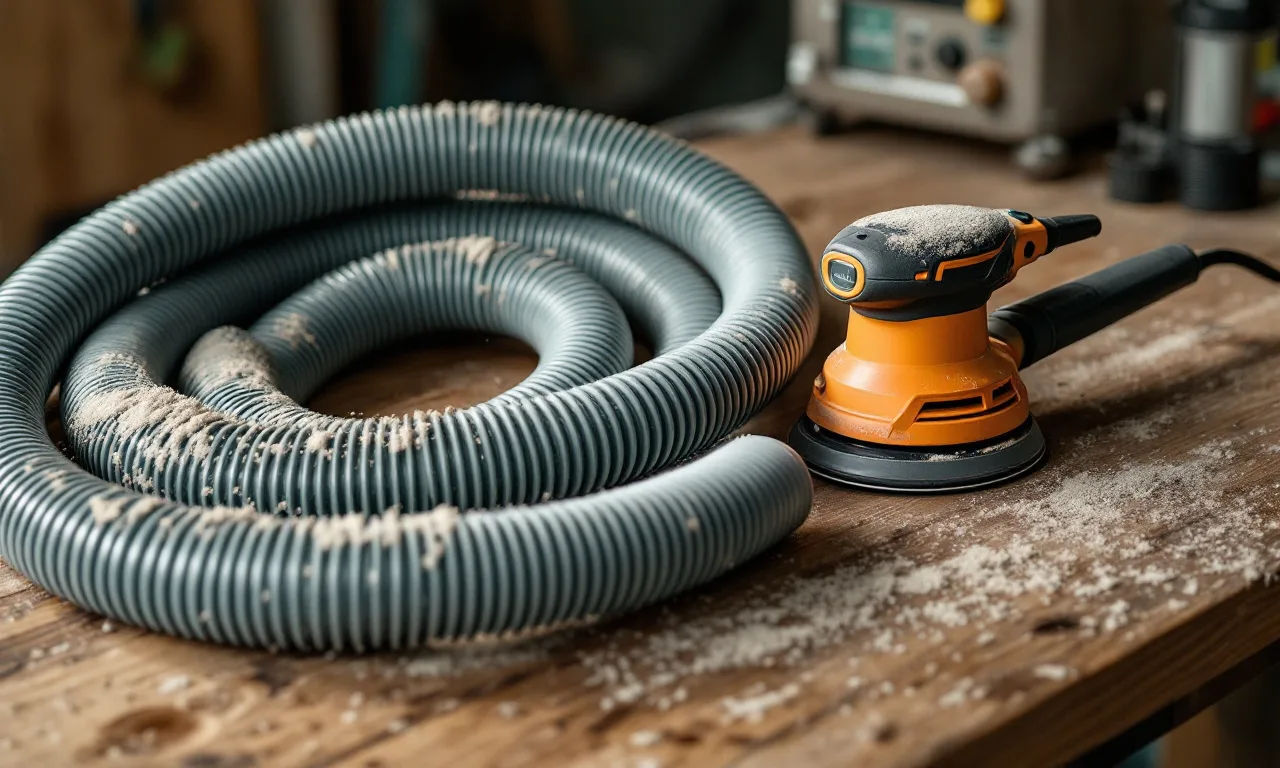
A workshop can look clean while still producing airborne dust during a cut or a sanding pass. Sweeping up afterward addresses only part of the problem. A useful dust plan starts where the dust is generated, then considers collection, filtration, cleanup, maintenance and the way people use the space.
This guide helps organize those questions for a small woodworking space. It is not an exposure assessment or a guarantee that a particular vacuum makes a workshop safe. Workplace requirements depend on the location and activity. If exposure, combustible dust or ventilation design is uncertain, obtain competent advice for the actual equipment and room.
Map the work that creates dust
List the operations you perform, the tools involved and how often they run. Sanding, sawing, routing and machining produce different mixtures of chips and fine dust. The visible size of the waste does not tell you everything about what can become airborne.
Record where each operation happens. A portable tool used at several benches needs a collection arrangement that can move with it without becoming disconnected or awkward. A fixed machine needs its own documented extraction requirements considered in the room layout.
Include cleanup and filter handling on the list. Dust can be released when a container is emptied or a filter is disturbed, even when no cutting tool is running. A plan that ends when the machine switches off leaves those tasks unexamined.
Start with source capture
OSHA's woodworking guidance identifies local exhaust ventilation at or near the source as a primary control for wood dust. Capturing material before it spreads is a different job from trying to clean the entire room's air after the fact.
Check the tool manufacturer's extraction connection and requirements. Where a hood or guard forms part of the collection system, keep it in the specified arrangement. Do not remove a safety guard to make a hose fit or assume a convenient adapter preserves the intended performance.
Positioning matters. A hose connected somewhere near the tool is not proof that dust is captured effectively. Observe the process from a safe position, follow the documentation and seek assessment where necessary. Visible escape can reveal a problem, but the absence of a visible cloud does not establish a safe exposure level.
Match the collector to the tool
Read both manuals. A collector suitable for one connection and flow requirement may not suit another machine merely because an adapter can join the diameters. Airflow, pressure, hose arrangement and filtration need to be considered as a system.
Keep the intended hose length, bends and fittings in the comparison. A headline rating measured under one condition may not describe the installed arrangement in your workshop. Avoid buying solely on a single power or suction number without knowing what the tool requires.
Use the bench supplies notebook as a list of questions, not a tested product ranking. Before ordering, confirm compatible accessories, replacement filters, container capacity and the manufacturer's restrictions on collected materials.
Understand the filter and the whole machine
A filter label describes part of the system. The collector's seals, housing and intended use also matter. Do not assume installing a filter of a particular class turns any ordinary vacuum into a certified dust extractor for every hazard.
Read how the manufacturer describes filtration and what maintenance is required. Find the procedure for checking, cleaning or replacing the filter. A filter left blocked or damaged does not become reliable because its original packaging carried a reassuring claim.
Consider where cleaned air is discharged and whether the arrangement is appropriate for the space and local requirements. Do not improvise an exhaust route through a shared building or near another person's air intake. Ventilation changes can have consequences beyond the immediate bench.
Keep hoses and connections serviceable
Inspect hoses for splits, loose connections and obstructions. Arrange them to avoid trip hazards and excessive strain on a portable tool. A hose that repeatedly pulls free during normal work is a setup problem worth solving before the next session.
Use suitable fittings rather than layers of temporary tape and unsupported reducers. Follow the equipment instructions for grounding or static-control provisions where applicable. Do not invent an electrical modification based on a general article.
Make inspection easy. If a critical connection is hidden behind stored boards, it is less likely to be checked. A small workshop benefits from simple access and a layout that lets you see the ordinary failure points without dismantling the room.
Plan the sanding station carefully
Sanding produces fine dust close to the surface being worked. Where the system uses holes in the abrasive and pad, ensure they align as intended. Check that the abrasive, pad and collector connection are compatible with the tool.
Keep the work supported and secured so extraction does not compete with control of the tool. A hose dragging over the work can affect movement; a cable tangled with it can create another hazard. Arrange the route before switching on.
The sanding guide treats dust capture as part of surface preparation rather than an optional cleanup accessory. A smoother finish does not justify an improvised collection setup or a cloud accepted as the normal price of working.
Personal protection is one layer
Respiratory protection has to be suitable for the hazard and the person using it. Selection, fit, training, maintenance and applicable workplace rules matter. A generic mask recommendation cannot resolve those questions for every reader.
Do not treat personal protection as a reason to ignore source capture or maintenance. Nor should a collector purchase be treated as proof that no personal protection is needed. The controls should be chosen from an assessment of the actual work and conditions.
Eye, hearing and other protection may also be required by the operation and tool instructions. Consider the whole task rather than selecting equipment from a photograph. Where the work is occupational, follow the relevant employer procedures and legal requirements.
Clean without redistributing the problem
Choose cleanup methods appropriate to the dust and equipment. Blowing settled dust into the air can make a bench look cleaner while worsening the airborne problem. Dry sweeping can also redistribute material. Use suitable collection methods and follow the equipment instructions.
Include ledges, inaccessible areas and surfaces near the work, not just the floor. Dust accumulations can create additional concerns, including fire and explosion hazards in relevant conditions. A small room is not automatically exempt from the need to understand those hazards.
Do not collect incompatible materials together merely because the hose is available. Hot debris, sparks, finishing waste and other substances may be prohibited by the collector manufacturer or require separate handling. Keep the restrictions visible near the equipment if several people use the space.
Make emptying a planned task
Know the fill limit and the safe emptying procedure before the container reaches it. Choose a location and method that avoid unnecessary release and exposure. Follow the manufacturer's directions for bags, liners and personal protection during servicing.
Do not shake a dirty filter casually in the workshop to restore airflow. Use the documented cleaning or replacement procedure. If the equipment has an automatic cleaning system, understand its limits rather than assuming it removes all servicing needs.
Keep replacement consumables available when practical. A collector waiting for a filter can tempt a rushed workaround. Planning for ordinary maintenance is part of the purchase cost, just like the hose and adapter required for the first connection.
Keep a short maintenance record
Record the equipment model, filter type, inspection date and any change in performance. Note damaged hoses, blocked fittings and repeated escape points. The record does not need to be elaborate; it needs to make an unresolved problem visible before the next session.
If a machine's collection becomes noticeably worse, stop and investigate rather than compensating with a quicker cut or an open door. The cause may be a blockage, leak, full container or another fault. Follow the troubleshooting instructions and obtain qualified help when needed.
A consistent record also improves future buying decisions. Instead of replacing a system because it feels disappointing, you can distinguish capacity limitations from maintenance issues or an unsuitable original match between tool and collector.
Before spending on a new system
Write the exact tool connections, documented requirements, expected hose layout, filtration needs and servicing constraints. Compare complete systems, including the accessories required to connect them properly. Avoid treating a low entry price as the total cost.
Where a specialist supplier or competent ventilation adviser is involved, provide that list rather than asking only for the most powerful unit. A clear description of the work makes advice more relevant. Keep any recommendation and its assumptions with the equipment documents.
The goal is a controllable process that remains usable on an ordinary working day. If the system is too awkward to connect, too difficult to maintain or unsuitable for the tools, its presence in the room is not enough.
Sources and limits
OSHA's woodworking wood-dust guidance explains hazards and source-capture principles. Its wood-dust overview links to exposure evaluation and control resources. Follow current local requirements and exact equipment manuals. For material planning, see the timber guide; this article does not assess the safety of a reader's individual workshop.
Keep the notebook open.

Pine boards or plywood for a utility shelf?
Compare the complete shelf project: appearance, edges, preparation, supports and the documented material.
11 Jun 2025 · Elise Tran