
Clamps for pine panels: capacity before quantity
Start with clear capacity, a fitted joint and a dry rehearsal. A crowded clamp rack is not the same as a workable setup.
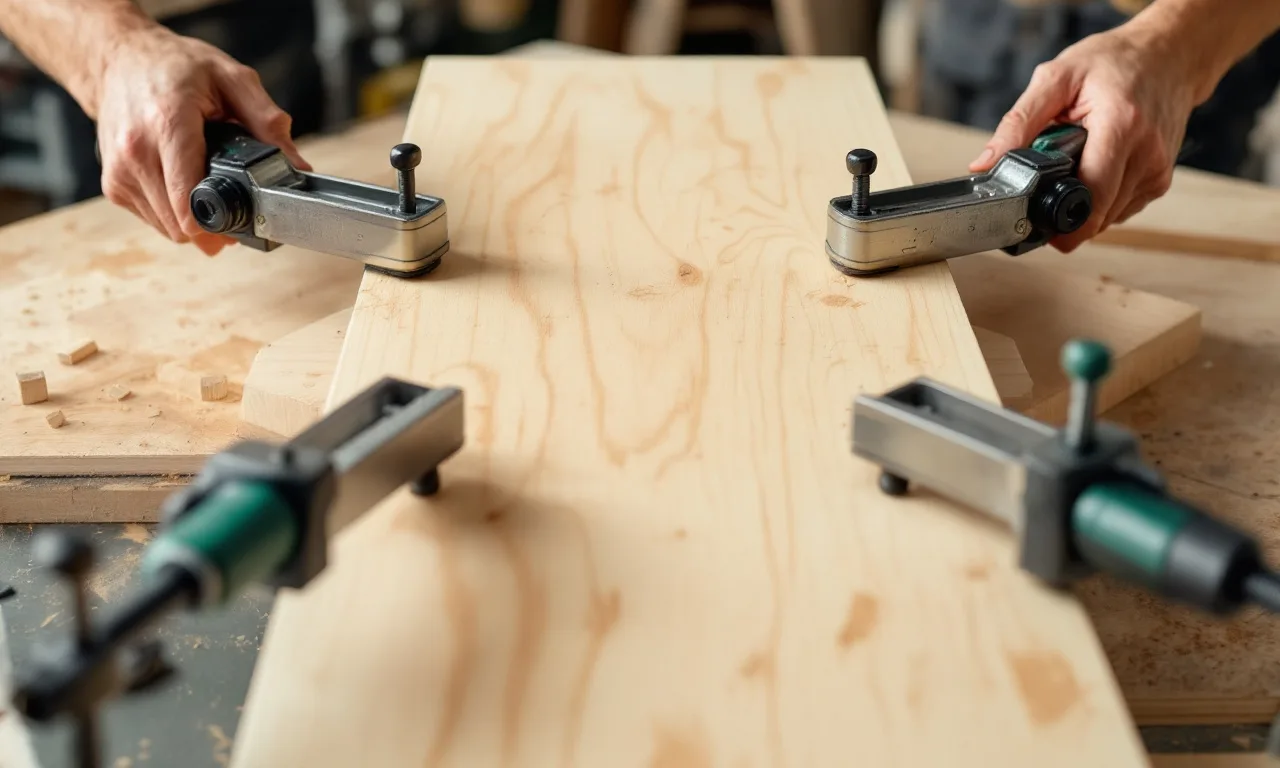
A clamp rack can look reassuring while still lacking the one capacity a project needs. The useful question is not how many clamps a workshop owns. It is whether the chosen clamps can bring the actual joints together, keep the assembly aligned and do so without damaging soft pine or obstructing the work.
For a small panel, start with its finished width and the rough assembly width. Add the space occupied by protective pads and any assembly aids. Then consider the joint, the adhesive instructions and the working surface. A long clamp with awkward jaws may be less useful than a shorter, well-supported arrangement that fits the job comfortably.
Clear capacity is the first measurement
The stated length of a clamp is not always the space available between the contact faces in the setup you intend to use. Read the manufacturer's description and measure the clear opening if possible. Include the pads that will protect the wood. A panel that only just fits between bare jaws may no longer fit after those pads are added.
Write the largest assembly width you expect for the current project, not an imagined future table. That keeps the purchase proportionate. If a future project genuinely needs a wider capacity, record it separately and decide whether buying once makes sense for your storage and budget.
Also check how the clamp reaches the joint. Throat depth matters when pressure must be applied away from an edge. A long bar does not compensate for a jaw that cannot reach the intended contact point. For a basic edge-glued panel, the relevant geometry is usually simpler than for a box or a framed assembly, but it still deserves a sketch.
Clamps hold a prepared joint
A clamp should not be expected to turn a badly fitting joint into a reliable one. Bring the prepared edges together dry and inspect the fit. If there is a significant gap, identify its cause before applying adhesive. Excessive force can distort the assembly while concealing the underlying problem until the clamps come off.
Check that the reference faces are where you expect them to be. Boards of unequal thickness can produce a step even when their edges meet. That may be acceptable if a later preparation stage was planned, but it should not be a surprise discovered halfway through glue-up.
The USDA Wood Handbook treats adhesive performance as a system involving the wood, surface preparation, adhesive and assembly conditions. Clamp choice is one part of that system. The exact glue manufacturer's directions remain the source for open time, assembly time, pressure guidance and curing requirements.
Protect the pine, without losing alignment
Pine can show dents from concentrated pressure. Use suitable clean pads between jaws and visible wood surfaces, and make sure the pads sit flat. A pad that tilts or bridges a small high spot can create a new alignment problem instead of solving the marking problem.
Keep pads free of dried glue lumps, embedded grit and stray fasteners. Inspect them before assembly rather than discovering an impression in the finished face. If you make your own pads, choose dimensions that remain easy to position and retrieve; tiny loose pieces can become frustrating when several clamps need attention at once.
Do not treat a padded jaw as permission to apply unlimited force. The goal is a fitted joint held in the condition required by the adhesive and the assembly, not the strongest squeeze you can manage. If the panel bows as the clamps tighten, pause and reassess support, alignment and the way force is being applied.
Arrange the bench before the glue
A clear working surface is part of the clamping setup. Make sure the assembly can be supported without rocking and that clamps can be adjusted without reaching across unstable stock. Protect the bench where appropriate and plan where squeeze-out will go.
Lay out the clamps in their intended positions, along with pads and any alignment aids. Check that handles have room to turn. A clamp that technically fits the panel can still be awkward if its handle meets the bench edge, another clamp or a nearby wall.
Keep the adhesive, spreader, cleanup materials and a way to check alignment within easy reach. Follow the adhesive instructions for cleanup and safe handling. The project cut-list note can help identify parts; a dry assembly helps identify the sequence.
Rehearse the full assembly
Put every board in order and mark a clear reference arrangement. Then carry out the complete clamping sequence without glue. This is the time to discover that a clamp is too short, a pad keeps falling out or a board has been turned the wrong way.
During the rehearsal, check both face alignment and the overall shape. A panel can have tight joints while developing an unwanted curve. Look across the surface and use appropriate reference tools without forcing the piece into a temporary condition that will disappear when released.
Time the rehearsal only as a practical awareness exercise. Do not compare it with a glue's advertised open time unless the temperature, materials and application conditions match the manufacturer's instructions. If the sequence feels rushed when dry, simplify it before introducing an adhesive that starts a working-time clock.
Match clamp type to the arrangement
Bar clamps, pipe clamps, parallel-jaw clamps and smaller quick-action clamps each have useful roles. Compare their actual capacity, stiffness, contact area, weight and adjustment method rather than assuming a category name guarantees a better panel.
A heavy clamp can be stable on a bench but tiring to position on a tall assembly. A light quick-action clamp can be convenient for holding a temporary aid but may not be the right tool for a demanding glue-up. A clamp intended for one type of work may have a jaw shape that is awkward for another.
Read the manufacturer's rated use and restrictions. Avoid improvised extensions, damaged bars or makeshift combinations whose behavior is uncertain. If the only way a proposed purchase fits the project is through a complicated workaround, reconsider the capacity or the assembly plan.
Quantity follows the panel and the joint
There is no single clamp count that fits every panel. Board width, joint preparation, panel length, clamp design and adhesive instructions all affect the arrangement. A generic spacing rule can be a starting question, but it should not replace checking the actual joint and the manufacturer's guidance.
Sketch the clamp positions along the panel. Think about how pressure reaches the joint between those positions and whether the board edges are already fitting properly. Adding clamps to compensate for a visibly poor dry fit is often treating the symptom rather than the cause.
If the budget only allows a small set, choose a manageable first project or an assembly sequence that stays within the documented adhesive process. Do not make the project so large that you rely on borrowed time, improvised pressure or unverified shortcuts to complete it.
What to compare in the shop
Try the adjustment mechanism where permitted. Does the moving jaw slide predictably and lock in a way you can understand? Can the handle be used comfortably with the clamp resting in the intended position? Are replacement pads or other service parts available?
Inspect the contact surfaces and the bar. Consider storage as well as use: a long clamp that cannot be stored securely creates a workshop problem between projects. A wall rack needs suitable support for its actual weight and location; this article does not provide a structural fixing design.
Compare the price of the complete working set. Pads, suitable pipe where applicable and other required components may not be included in the headline price. The bench supplies page keeps selection criteria beside relevant buying links when those links are available.
After the assembly
Leave the work supported for the period required by the adhesive instructions and the project conditions. Clamp removal time and readiness for further stress are not necessarily the same thing. Avoid treating a surface that feels dry as proof that the entire joint is ready for every operation.
Clean the clamps according to the manufacturer's guidance before glue accumulates on sliding or contact surfaces. Check pads and mechanisms, and return the clamps to secure storage. A few minutes of care can make the next dry rehearsal less frustrating.
Keep a short project note: panel dimensions, clamp types, useful capacity, alignment difficulties and any marks that appeared. This is a record of your own work, not a universal test result. It helps the next purchase solve a real limitation rather than merely fill another space on the rack.
Source and further reading
See chapter 10 of the USDA Wood Handbook for adhesive bonding principles. Consult the exact adhesive and clamp manuals for assembly limits and use instructions. This guide describes planning criteria and does not claim a hands-on comparison of commercial clamps. For material selection, begin with choosing pine boards.